

This article includes affiliate links. If you purchase anything using these links I get a small commission. Thank you for supporting Bloom Computing!
In my last article I took a look at whether or not one could build a PC with Mac-like specifications for cheaper than buying a Mac from Apple. If you haven’t already check it out here! In that article I was looking at the cheapest Mac Mini you can buy direct from Apple. Unfortunately (or fortunately if you’re looking to buy a Mac), it actually ended up being more expensive to build the PC than it was to buy the base model Mac Mini for $599.
Today, I want to continue this series by taking a look at the Mac Studio. The Mac Studio is designed with creative types in mind! It has the power to work on things like photo/video editing, graphic design, and music production. These tasks can take a significant amount of computing power and the Mac Studio is made to take these on like a champ.
But a PC can do these things too right?
Absolutely! There are plenty of people out there that choose to use a PC rather than a Mac for these things. In fact I’m one of those people! I have nothing against Macs, but when you’ve been working on PCs as long as I have it doesn’t make much sense to switch. However, if I was going to buy a Mac I would 100% go for a Mac Studio. For the work I do with both this website and my music a Mac Studio would be the perfect choice. So with that said, the next budget “Mac” build had to be a Mac Studio!
So where do we start?
Just like last time we’ll start by taking a look at the system specifications for the Mac Studio. You can see the full specs on Apple’s site here: https://www.apple.com/mac-studio/specs/
Mac Studio Key Specs:
The most important components we need to match are the CPU, GPU, Memory, and Storage. The other components are obviously important too but these are where you’re going to get the performance that you’ll need for studio work. We’ll be using the base model of the Mac Studio as our reference this time. So what does the Mac Studio have to offer for these components?
CPU: The Mac Studio utilizes the Apple M2 Max chip, which is a 12-core CPU with 8 performance cores and 4 efficiency cores.
GPU: The Mac Studio again utilizes the Apple M2 Max chip which integrates a 30-core GPU alongside the CPU.
Memory: The base model (AKA the cheapest version) of the Mac Studio offers 32GB of memory.
Storage: The base model Mac Studio offers a 512GB SSD for storage.
The base model Mac Studio goes for $1999 from Apple so this is the price we’re trying to beat today.
What PC components compare to this base model Mac Studio?
So full disclosure (and a bit of a spoiler), some of these parts are not the cheapest option available. After putting together this list I realized that by using the cheapest parts I was able to save enough money building the PC that you could’ve bought (or built) a Mac Mini along with it and still had money left over! I realized that I could splurge a bit on some of the parts to give a bit better user experience. I’m all for saving money, but sometimes you really do get what you pay for…
So with that in mind, here are the parts I would personally go for if I was building my own version of the Mac Studio!
CPU: Intel Core i7-12700KF
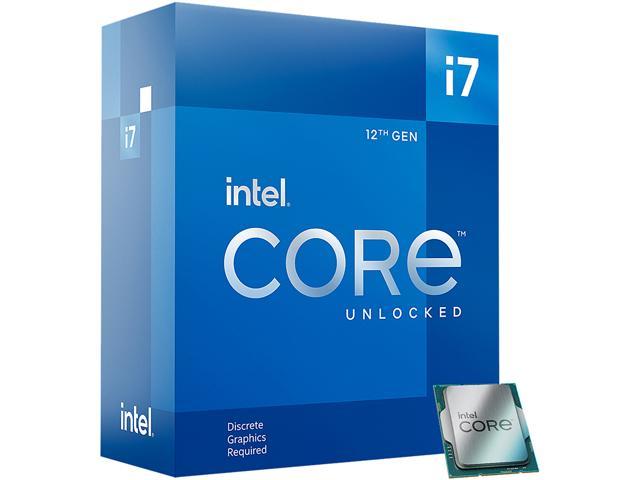
Cost (at time of writing): $177.90
Why this was picked: The I7-12700KF is a 12 core CPU with 8 performance and 4 efficiency cores. The specs of this CPU are almost exactly like that of the Mac Studio.
Amazon: https://amzn.to/40MWqit
GPU: GIGABYTE Radeon RX Vega 64 8GB

Cost: $499
Why this was picked: This is a great little GPU but not necessarily top of the line so why did I pick this one? Well, the Mac Studio supports up to 6 displays at once, and this is one of the cheapest GPUs that actually has 6 display outputs. Most have 3-4 at most, making this a nice choice.
Memory: G.SKILL Ripjaws V Series 32GB (2 x 16GB)

Cost: $50.99
Why this was picked: As I mentioned in my last Mac build, I have used G.Skill memory a lot in the past and they offer a lot of bang for your buck. If I’m looking for RAM and it has to be new, chances are I’m going to pick G.Skill.
Amazon: https://amzn.to/4hqae7U
Storage: SAMSUNG 960 PRO M.2 512GB

Cost: $184.84
Why this was picked: Here’s where I started to splurge a bit. I could certainly pick a Silicon Power SSD like in my last article. However, if you’re looking for performance I can’t recommend Samsung’s SSDs highly enough. Samsung is certainly more pricey than Silicon Power, but it’s worth it if you’re looking for performance and reliability.
Amazon: https://amzn.to/40Oa58Q
Newegg: https://www.newegg.com/samsung-960-pro-512gb/p/N82E16820147596?Item=9SIAADF6BK0718
Motherboard: MSI PRO H610M-G
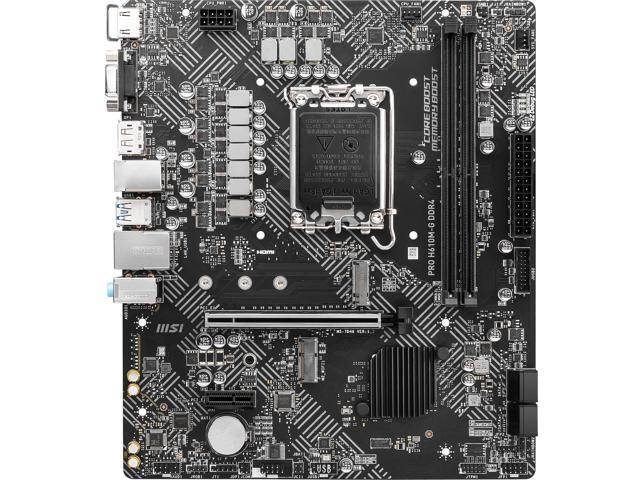
Cost: $94.71
Why this was picked: This is the same motherboard I picked in my last article. It’s compatible with the other components in this list. It’s affordable. No reason to reinvent the wheel with this one!
Newegg: MSI PRO H610M-G DDR4 LGA 1700 Intel H610 SATA 6Gb/s Micro ATX Intel Motherboard
Amazon: https://amzn.to/40a1NGV
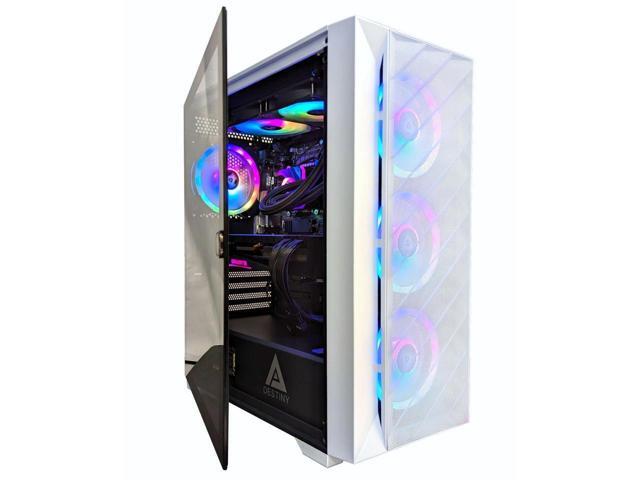
CPU Cooler: Cooler Master MasterLiquid 240L Core White 240mm Close-Loop AIO Liquid Cooler
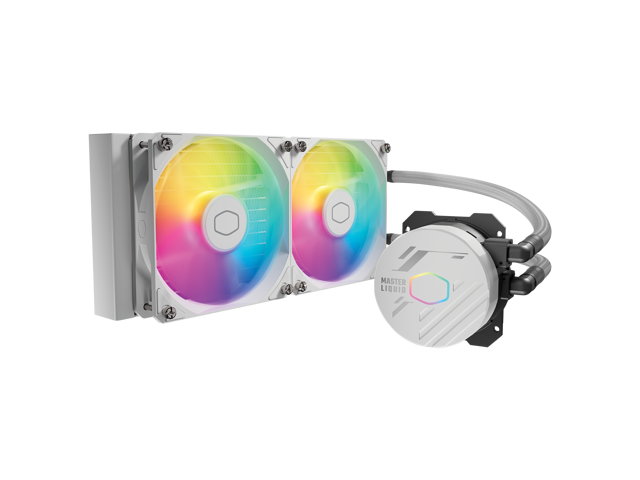
Cost: $83.99
Why this was picked: I originally went with the same CPU cooler as my last article. When I realized I had some wiggle room in the budget though I knew I wanted to splurge a little on cooling. Liquid cooling is a very efficient way to cool your CPU so I knew for a powerful PC like this I wanted to go that route. This was one of the cheaper options available for liquid cooling and it’s from a reliable brand.
Amazon: https://amzn.to/3PNy4Pp
PSU: Cooler Master MWE Gold 1050 V2
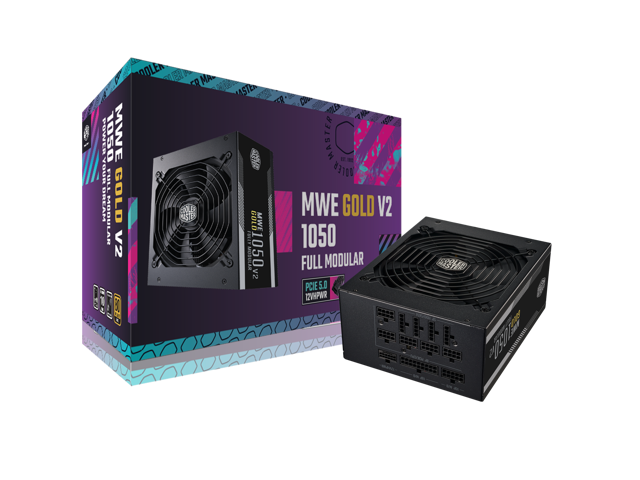
Cost: $149.99
Why this was picked: This is a very efficient and very high output power supply. I almost went with the same PSU as my last article, but when you’re adding higher performance parts you want to make sure there’s an adequate amount of power to drive that. This PSU hits that mark without breaking the bank and again comes from a reliable brand.
Amazon: https://amzn.to/4jvOQzR
Case: Cooler Master MasterBox Q300L Micro ATX Tower
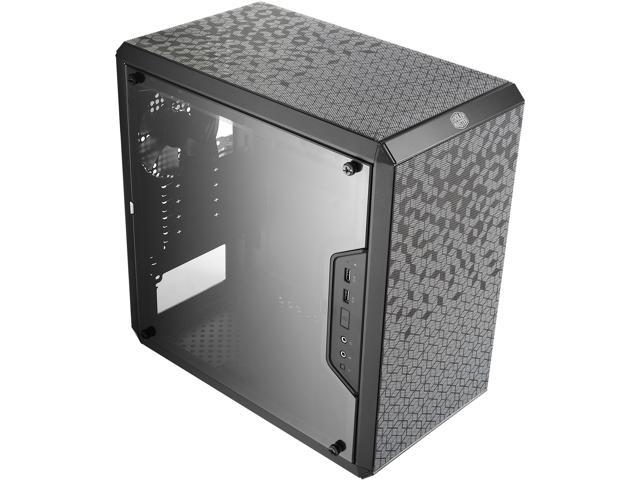
Cost: $37.99
Why this was picked: Cooler Master again!? Yes! With PCs of this caliber you need to make sure you have enough airflow for it to stay cool. Any Micro ATX case will work but this offers enough space and ventilation for all of our components to stay cool and won’t break the bank.
Amazon: https://amzn.to/42uwFEF
Total Cost to build
At the time of writing, these parts come to a total of $1,279.41. This is a whopping $720.58 less than the Mac Studio!
Alternative Option: Buy a Pre-Built
If building a PC isn’t your thing there’s always the pre-built option. There are lots of builders online that offer great deals on powerful PCs. While searching for links for this article I actually found a very similar build that would work just as well. The Cobratype Boomslang Gaming PC offers many of the same specs I listed above except for a few key differences.
This pre-built actually offers double the storage space (1TB instead of 512GB) and uses an RTX 3060 GPU. The key difference with the GPU is that it doesn’t offer 6 display outputs like the Mac does. I don’t think most people would actually use this many displays though. This GPU has plenty of power and that’s the important part. This PC comes in at $1,399.99, which is only slightly more than the parts I picked and still way less than the Mac Studio!
Conclusion
So it seems that once you start getting into the more powerful Macs it does make more financial sense to build (or buy) a comparable PC. However, just like anything else it really comes down to personal preference. Someone who wants a Mac probably won’t be happy with a PC and vice versa. If you’re someone who is in the market for a Mac Studio I encourage you to get one! However, if you’re like me and you prefer a PC for that type of studio work, you can absolutely save money by building your own.
As always, if you’re looking to save money, the used market can help you save even more! All the parts I listed above are brand new for comparing to the Mac. However, if you are patient and willing to do your research there are always deals to be found. And if you aren’t sure what to look for you can always send me a message through the contact page. I’m always happy to help folks find exactly what they need on a budget!
That wraps it up for our Mac Studio build! Next time I’ll take a look at the most expensive Mac on the market, the Mac Pro. I’m going to do things a little different with this one, so stay tuned to see how it turns out!
Leave a Reply
You must be logged in to post a comment.